
Nowadays there are many choices of tools to create a design wireframe, one of which is Balsamiq. Balsamiq is a tool that can be used for designing wireframe sites and applications. Tool is considered one of the easiest to use even for beginners despite having no understanding of code and so on.
What is Balsamiq?

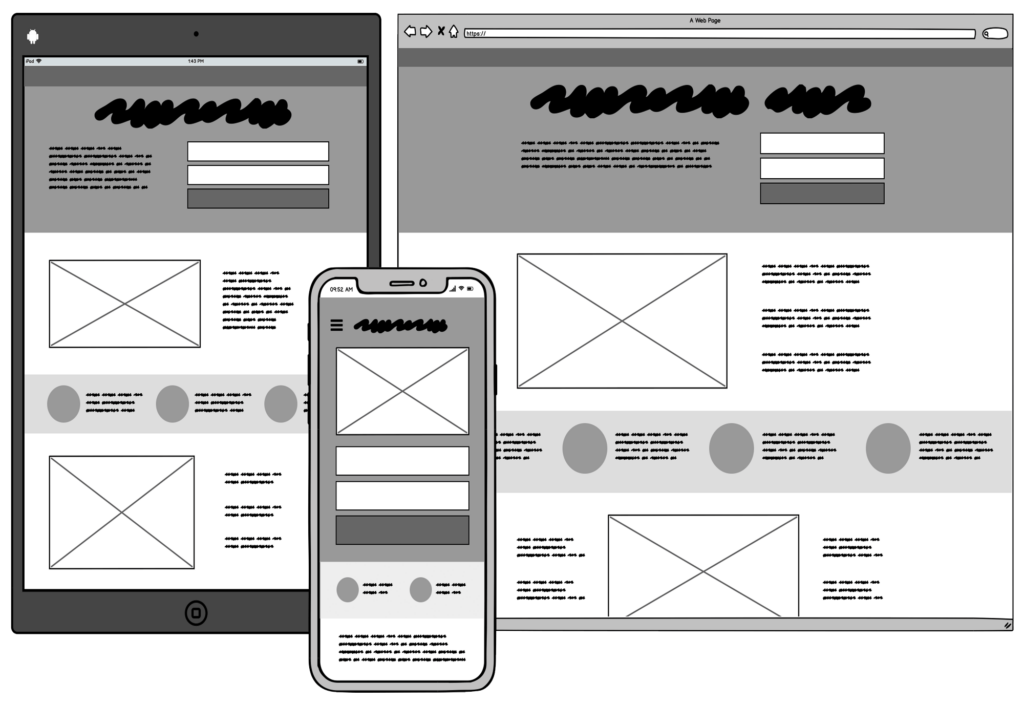
Balsamiq is a prototyping software used to create wireframes or rough sketches of the user interface (UI) of an application or website. A wireframe is a simple visual representation of the layout and main elements in a design without in-depth graphic details. Balsamiq is designed to make it easier for designers, developers, and other stakeholders to quickly sketch out design ideas and test the functionality of concepts before developing a final version.
Types of Balsamiq Platforms
Three versions of Balsamiq can be used platform. The platforms for Balsamiq are Cloud, Desktop, and Google Drive. These three different versions of Balsamiq are initially free for the first 30 days. After that, you have to pay depending on the package you choose. For Balsamiq Cloud, there are 3 packages offered, namely 2 project packages, 20 projects, or 200 projects. Prices start from 9 US dollars to 199 US dollars per month. The greater the number of team members who need to use Balsamiq in your company, the more expensive the package required will be. Meanwhile, Balsamiq Desktop offers a price of 89 US dollars for each user. So, Balsamiq Google Drive is an alternative that you can choose if you want to save more. For this platform, you only need to pay 5 US dollars per wireframe editor every month.
Advantages and Disadvantages of Balsamiq
Advantages of Balsamiq:
- Quick and Easy to Learn: Balsamiq is designed to be a tool that is quick to understand for users, especially beginners. The simple and intuitive user interface allows users to quickly create wireframes.
- Focus on Functionality: Balsamiq puts focus on functionality and structure rather than graphic details. This allows teams to quickly communicate ideas and get feedback at a conceptual level.
- Many UI Elements Available: Balsamiq provides a variety of basic user interface elements that can be used to build wireframes, including buttons, text, forms, and more.
- Ease of Customization: Even though Balsamiq doesn’t focus on graphic details, it still provides the ability to customize element properties, such as color, size, and font.
- Collaboration Capabilities: Balsamiq supports collaboration within teams. Multiple users can work on the same project simultaneously, facilitating communication and collaboration.
- Interactive Prototype: Although simple, Balsamiq allows users to create interactive interface prototypes by adding links between pages.
Lack of Balsamiq:
- Limited Aesthetics: Balsamiq does not provide a smooth graphic design or sophisticated aesthetic. This can be a drawback if the project requires a more in-depth visual representation.
- Not Suitable for Final Presentation: The wireframes produced by Balsamiq are more suitable for the planning and design iteration phases. They are not suitable for final presentations to clients or stakeholders due to the lack of graphic detail.
- Only Available Offline: At the time of typing this (January 2022), Balsamiq is a desktop-based application and does not have a fully cloud-based web version. This can be an obstacle for teams that want the flexibility of access from multiple devices.
- Limited Interactive Functionality: Although Balsamiq allows for interactive prototyping, this functionality is limited compared to more advanced dedicated prototyping tools.
- Relatively High Price: Balsamiq has a relatively high licensing fee. This may be a factor to consider, especially for teams or individuals on a limited budget.
While Balsamiq has its drawbacks, its main advantage is the ability to quickly create functional wireframes and support collaboration within design teams. The selection of prototyping tools depends on the needs and preferences of the project team.
How to Use Balsamiq
To create a wireframe in Balsamiq, there are several basic terms that you need to understand first. According to Balsamiq, these terms are components you will use frequently:
- UI Control: Standard UI widgets, such as buttons, images, and dialog windows.
- Canvas: Where UI Controls are placed.
- UI Library: A row of UI Controls that can be dragged and dropped onto Canvas.
- Property Inspector: Settings panel that contains common actions such as alignment and layering.
Next are several steps to create a wireframe on Balsamiq:
- Install and Open Balsamiq:
- Download and install Balsamiq software from the official site.
- Open Balsamiq once the installation is complete.
- Select New Project:
- Select the “Create New Project” or “New Mockup” option to start a new project.
- Choose a Template or Start from Scratch:
- You can choose a template that suits your type of project or start with a blank page.
- Select Basic Elements:
- In the left panel, you will see various basic UI elements like buttons, text boxes, images, and more.
- Drag and drop these elements into the work area to start building the wireframe.
- Set Layout:
- Arrange these elements to create a page layout. Use guidelines to help arrange elements neatly.
- Add Text and Labels:
- Click on text and label elements to add text or titles to important parts of your wireframe.
- Customize Element Properties:
- Click on an element to access the settings menu and adjust its properties such as color, size, and style.
- Connect Pages (If Necessary):
- If your project involves multiple pages, use the feature to create links between pages. For example, you can add a link from a button on one page to another page.
- Save and Share:
- Save your project periodically. Balsamiq generally saves projects.BMPR format.
- If you want to get feedback from others, you can use the options to share prototypes or save images to share.
- Check and Repair:
- Check your wireframe and make sure that all the required elements have been added. Make repairs or adjustments if necessary.
- Export or Share:
- If the wireframe is suitable, you can save it or export it to a suitable format, such as an image or PDF.


